
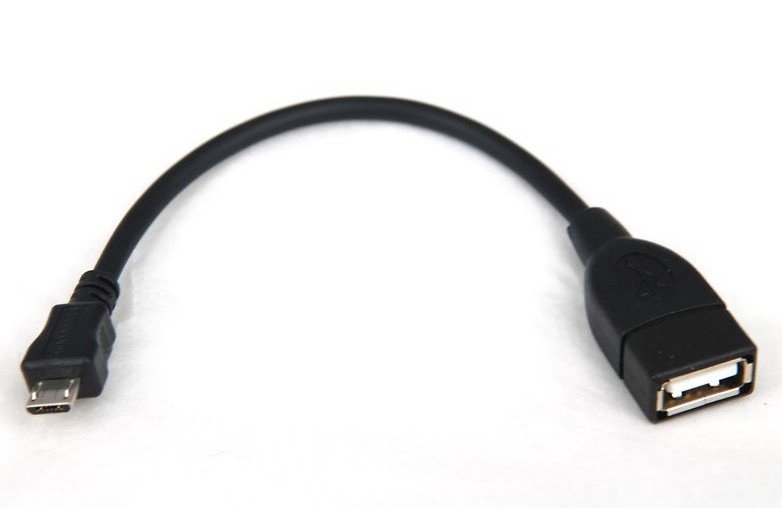
We are working right now at BLECentral on a mobile project that requires user interaction with a mouse. Connecting a mouse to Android is straightforward thanks to the support of USB On The Go. You just need to connect a conventional mouse with a USB OTG cable to the USB port of your Android device and the mouse starts working without installing any App.
Not all Android devices support USB OTG. However, since 2013, increasingly more devices from Google, Motorola, HTC, Samsung and Sony support it.
Android Motion Event API deals with move and click events of the external mouse as well as other user interfaces (touchscreen, trackball, joystick...) Although there are a lot of events, you can only handle the ones of your interest (e.g. onTouch or onGenericMotion). If you do not override these methods, the system will do it for you and generate higher level events (e.g. onClick) to the appropriate views.
Coding an App is simple. However, testing an App and its user interface is not that easy. Thankfully, Android has implemented powerful UI testing tools as part of its SDK.
If you move to the platform-tools folder in the Android SDK directory (C:\Program Files (x86)\Android\android-sdk\platform-tools in my Windows PC installation) you can execute Android Debug Bridge (adb) to connect to your Android device and start debugging. In fact, adb is running in background when you debug an Android App using eclipse.
To start debugging with adb you just need to:
- Enable
USB debuggingin the settings of you Android device. Note that for newer versions of Android OS, enabling debugging is not that obvious. - Connect the device to your PC with a standard USB cable (not a USB OTG cable!)
From the command line of your PC, you can instruct adb to send specific commands or events to the connected Android device. In particular, you can send UI/mouse events with the input macro. For example:
> adb shell input mouse tap 523 126
will simulate (in fact will generate) a click event over the pixel (x=523, y=126) of your device screen.
The input macro can emulate all sort of events, as described in its documentation:
Usage: input [<source>] <command> [<arg>...]
The sources are:
      trackball
      joystick
      touchnavigation
      mouse
      keyboard
      gamepad
      touchpad
      dpad
      stylus
      touchscreen

The commands and default sources are:
      text <string> (Default: touchscreen) [delay]
      keyevent [--longpress] <key code number or name> ... (Default: keyboard)
      tap <x> <y> (Default: touchscreen)
      swipe <x1> <y1> <x2> <y2> [duration(ms)] (Default: touchscreen)
      press (Default: trackball)
      roll <dx> <dy> (Default: trackball)
You can also include more than one command in a batch file (.bat in Windows), which will then be executed sequentially:
echo start
:1
adb shell input touchscreen tap 520 322
adb shell input mouse swipe 110 110 600 598
sleep 1
goto 1
One very interesting festure of adb is that it can use TCP/IP to wirelessly connect to a device as long as the device is visible on the same Local Area Network (LAN) as the host computer. Thus, if your Android device and computer are both connected to the same WiFi network (access point), the mouse events can be "sent" over WiFi.
You still need that the Android device and the computer are wired during the set-up phase, but once configured, the USB cable can be disconnected and debugging will work wirelessly. If you "root" your device, you will not even need to wire it to the host PC during the set-up, however, be aware of the security implications.
To start a TCP/IP debugging session (while the Android device is wired to the host PC), you can execute the following command in a terminal window:
> adb tcpip 5555
You should see a success message (restarting in TCP mode port: 5555).
Now, check the IP address of the Android device in the WiFi network. In your Android device, go to Settings -> WiFi and click on your network name. You will see your IP address at the bottom of the page.
Take note of the IP address and type the following command on your PC terminal window:
> adb connect 192.168.1.8
Substitute the IP address above with the actual value you got from in your Android device. If things worked fine, you will get a message after a short while informing you of the successful connection to the device (connected to 192.168.1.8:5555).
Now you can disconnect the USB cable form your Android device and start sending UI events from your PC, as you did before (e.g. adb shell input touchscreen tap 520 322 will remotely generate a tap on the screen of your device).
I will not delve into more details, but if you want to get even deeper into the generation and observation of mouse events, I recommend you to have a look at the advanced low-level features of sendevent and getevent. We have used all these tools for debugging our application, however they are also great to automate (regression) testing.
In a follow-up post we will talk about another useful and visual feature of adb. Subscribe to our mailing list to keep updated!